1. Prepare Your Workspace
○ Gather Supplies: Obtain a lint-free cloth, distilled water, and possibly printer cleaning solution (if recommended by the manufacturer). Make sure you have gloves on to avoid touching sensitive parts.
○ Turn Off Printer: Ensure the printer is turned off and unplugged to prevent any accidental damage or electrical issues.
2. Access the Print Head
○ Open Printer Cover: Lift the printer cover or access door to expose the print head. This may vary depending on your printer model.
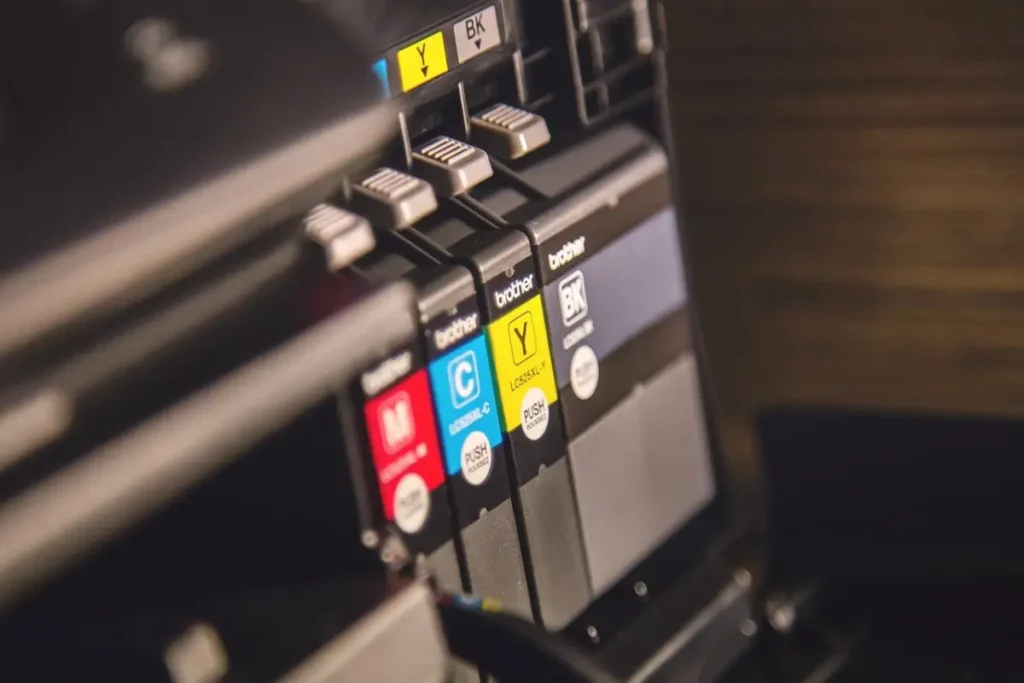
○ Remove Ink Cartridges: Carefully remove the ink cartridges from the print head. Place them on a clean, dry surface or in a cartridge holder to prevent ink leakage.
3. Inspect the Print Head
○ Check for Ink Residue: Look for any visible ink residue, smudges, or clogging on the print head.
○ Consult Manual: Refer to your printer’s manual for specific instructions related to your model, as the process can vary.
4. Clean the Print Head
○ Use Cleaning Solution: Dampen a lint-free cloth with distilled water or a manufacturer-approved cleaning solution. Gently wipe the print head to remove any dried ink or debris.
○ Avoid Excessive Moisture: Ensure the cloth is not overly wet, as excess moisture can damage the print head.
5. Clean the Nozzles
○ Automatic Cleaning: Use the printer’s built-in cleaning function from the control panel or software. This process helps to clear clogs and improve print quality.
○ Manual Cleaning: If automatic cleaning is insufficient, use a soft brush or cloth to gently clean the nozzles. Be cautious not to damage the delicate components.
6. Reinstall Ink Cartridges
○ Replace Cartridges: After cleaning, reinstall the ink cartridges into their respective slots. Ensure they are properly seated and locked into place.
○ Close the Printer Cover: Securely close the printer cover or access door.
7. Run a Test Print
○ Print a Test Page: Perform a test print or alignment page to check the results of the cleaning process.
○ Check Quality: Assess the print quality and make adjustments if necessary. Repeat cleaning if issues persist.
8. Perform Regular Maintenance
○ Schedule Cleaning: Regularly clean the print head as part of your printer maintenance routine, especially if you notice a decline in print quality.
○ Monitor Ink Levels: Keep an eye on ink levels to prevent running out of ink, which can lead to print head clogs.
9. Avoid Common Mistakes
○ No Abrasive Materials: Do not use abrasive materials or harsh chemicals that could damage the print head.
○ Handle with Care: Avoid touching the nozzles or electrical contacts directly with your fingers.
10. Consult Manufacturer’s Support
○ Check Documentation: For specific cleaning instructions or troubleshooting, consult the printer’s user manual or manufacturer’s support resources.
○ Contact Support: If you encounter persistent issues or need professional assistance, contact the printer manufacturer’s customer support.
By following these steps to clean your printer head, you can improve performance, maintain print quality, and extend the life of your printer. Regular maintenance ensures that your printer operates efficiently and produces sharp, vibrant prints.


