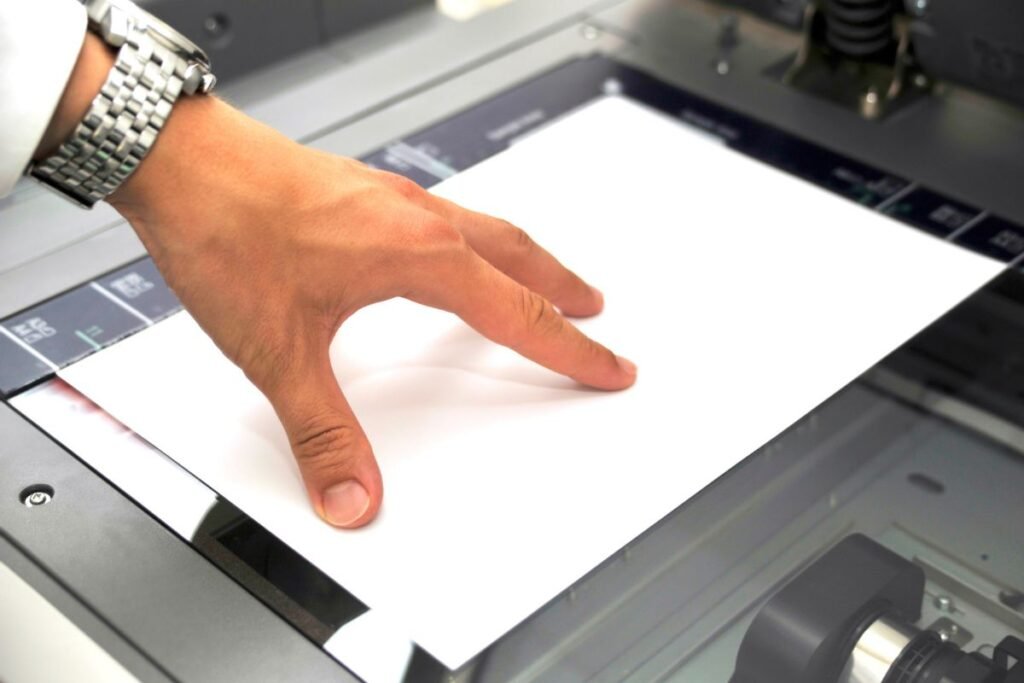
1. Know Your Paper Types
○ Standard Paper: Commonly used for everyday printing, including plain and recycled paper. Suitable for text documents and basic graphics.
○ Photo Paper: Designed for high-quality photo prints. Available in glossy, matte, and satin finishes.
○ Glossy Paper: Features a shiny finish that enhances color vibrancy and sharpness. Ideal for photos and marketing materials.
○ Matte Paper: Offers a non-reflective finish. Good for professional documents and photos where a subdued look is preferred.
○ Cardstock: Heavier and thicker than standard paper. Used for greeting cards, invitations, and presentations.
2. Adjust Printer Settings
○ Paper Type Selection: Access your printer settings via the printer software or the control panel. Select the paper type you are using to ensure optimal print quality.
○ Print Quality: Adjust the print quality settings according to the paper type. For high-quality paper, select a higher print resolution to enhance detail and color.
3. Load Paper Correctly
○ Paper Tray: Load different paper types into the appropriate paper trays if your printer has multiple trays. Ensure the paper is aligned with the paper guides.
○ Paper Orientation: Place paper in the tray according to the printer’s specifications, usually with the print side facing down.
4. Use the Right Ink or Toner
○ Inkjet Printers: For photo and glossy paper, use high-quality photo ink to achieve the best results.
○ Laser Printers: Ensure you are using toner that is compatible with the paper type. Some specialty papers may require specific toner formulations.
5. Test Print Settings
○ Print Preview: Use the print preview feature to check how your document will appear on different paper types. This can help you catch formatting issues before printing.
○ Test Pages: Print a test page on the paper type you are using to check color accuracy, alignment, and quality.
6. Handle Specialty Papers with Care
○ Avoid Smudging: Specialty papers like photo or glossy paper may take longer to dry. Handle prints carefully to avoid smudging or transferring ink.
○ Store Properly: Keep specialty papers in a dry, cool place to prevent curling, warping, or other damage.
7. Calibrate Your Printer
○ Color Calibration: For photo and high-quality prints, calibrate your printer to ensure accurate color reproduction. Use calibration tools or software as recommended by the manufacturer.
○ Paper Profiles: Use ICC profiles specific to the paper type and printer for the best color accuracy and print quality.
8. Optimize Print Settings for Each Paper Type
○ Paper Size and Type: Select the correct paper size and type in the print settings to avoid print errors or quality issues.
○ Media Type Options: Some printers offer media type options in the settings, such as “Photo Paper” or “Cardstock.” Select the option that matches your paper type.
9. Check Printer Compatibility
○ Manufacturer Recommendations: Refer to your printer’s manual or manufacturer’s website for recommendations on paper types and settings. Some printers are optimized for specific media types.
10. Clean Printer Components
○ Print Heads: Regularly clean the print heads to prevent clogging and ensure consistent print quality across different paper types.
○ Paper Feed Rollers: Keep the paper feed rollers clean to avoid misfeeds or paper jams, especially when using specialty papers.
By following these tips and adjusting your settings for different paper types, you can achieve the best print quality and ensure your documents and photos look professional, regardless of the media you choose.


