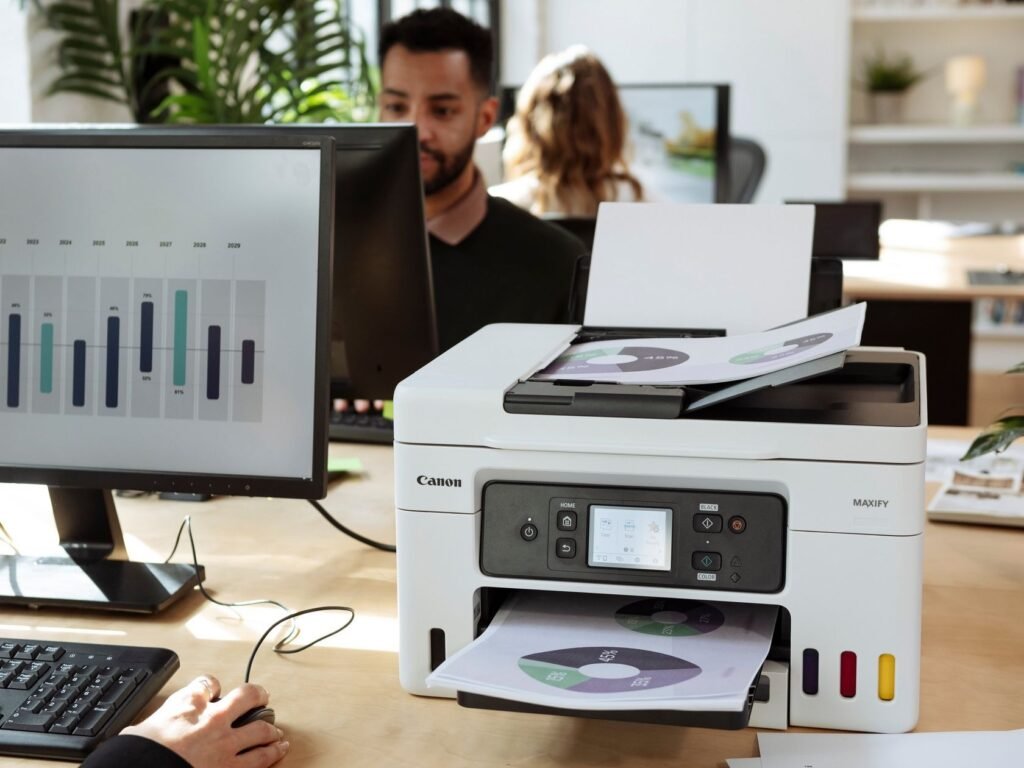
1. Prepare Your Printer and Computer
○ Check Printer Compatibility: Ensure your printer supports network sharing. Most modern printers, especially those with wireless capabilities, support this feature.
○ Connect to the Network: Make sure your printer is connected to the same network as your computer. For wired printers, this means connecting to your router with an Ethernet cable. For wireless printers, ensure it is connected to your Wi-Fi network.
2. Connect Your Printer to Your Computer
○ Install Printer Drivers: If you haven’t already, install the printer drivers on the computer that will be sharing the printer. You can usually find these on the printer manufacturer’s website.
○ Add the Printer: On your computer, go to Control Panel > Devices and Printers (Windows) or System Preferences > Printers & Scanners (macOS). Click Add a printer and follow the prompts to add the printer to your system.
3. Share the Printer (Windows)
○ Open Printer Properties: Go to Control Panel > Devices and Printers, right-click on the printer you want to share, and select Printer properties.
○ Share the Printer: Click on the Sharing tab, then check the box that says Share this printer. You can give it a share name that will be visible to other users on the network.
○ Apply Settings: Click Apply and then OK to save your settings.
4. Share the Printer (macOS)
○ Open System Preferences: Go to System Preferences > Printers & Scanners.
○ Select Printer: Click on the printer you want to share from the list on the left.
○ Enable Sharing: Check the box that says Share this printer on the network. The printer will now be accessible to other devices on your network.
5. Connect to the Shared Printer (Windows)
○ Add Network Printer: On another computer connected to the same network, go to Control Panel > Devices and Printers and select Add a printer.
○ Select Shared Printer: Choose Add a network, wireless or Bluetooth printer, then select the shared printer from the list of available printers.
○ Install Drivers: If prompted, install the necessary drivers for the shared printer.
6. Connect to the Shared Printer (macOS)
○ Open Printers & Scanners: On another macOS device, go to System Preferences > Printers & Scanners.
○ Select Shared Printer: Click the + button to add a printer. The shared printer should appear in the list of available printers. Select it and click Add.
○ Install Drivers: If necessary, install any required drivers.
7. Test the Printer
○ Print a Test Page: Once the printer is shared and connected, print a test page from the computers to ensure that everything is set up correctly.
○ Verify Functionality: Check that all connected devices can print to the shared printer and that the print quality is satisfactory.
8. Troubleshooting Tips
○ Ensure Network Connectivity: Make sure all devices are on the same network and can communicate with each other.
○ Check Printer Status: Ensure the printer is powered on and in a ready state. Check for any error messages or issues with the printer itself.
○ Firewall and Security Settings: Ensure that your firewall or security settings are not blocking printer sharing. Configure exceptions if needed.
9. Advanced Sharing Options
○ Network Configuration: For advanced setups, such as network printers with static IP addresses or more complex network configurations, consult your printer’s manual or network administrator.
○ Print Server: Consider using a dedicated print server if you have multiple printers or need advanced network management features.
By following these steps, you can successfully share a printer over your network, making it accessible to multiple devices and improving your printing efficiency.


