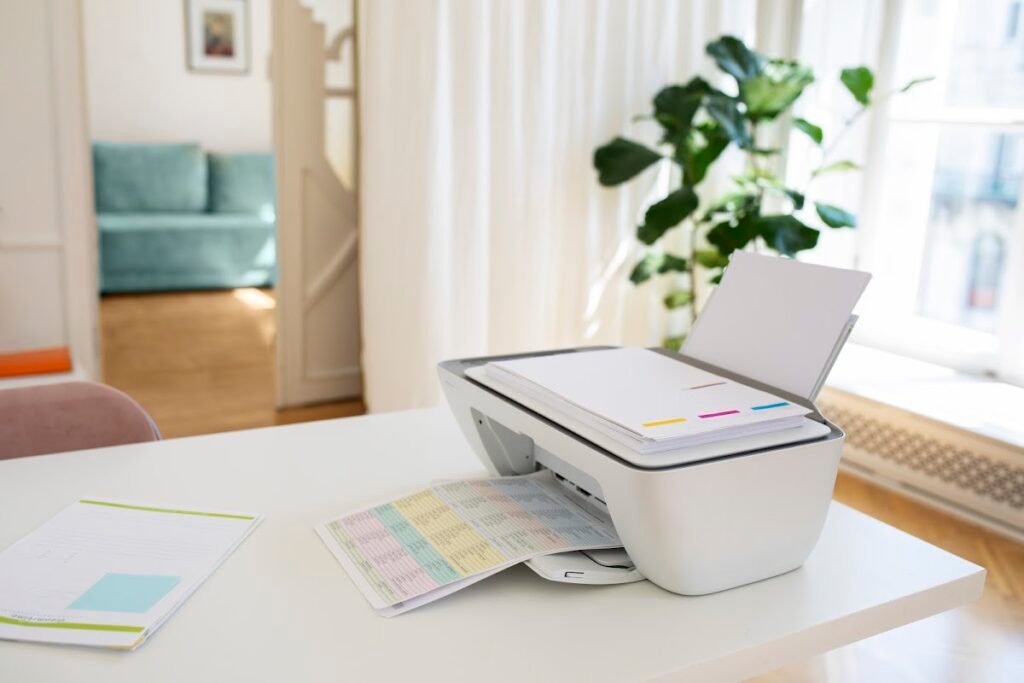
1. Choose the Right Print Quality
○ Draft Mode: Use draft mode for quick prints that don’t require high quality. This mode uses less ink and prints faster but sacrifices detail.
○ Normal or Standard Mode: For everyday documents, select normal mode. This balances print speed and quality.
○ High Quality: Select high-quality or best mode for important documents or photos. This mode uses more ink and takes longer but provides the best print quality.
2. Select the Appropriate Paper Type
○ Paper Settings: In the print settings, choose the paper type that matches the media you are using, such as glossy, matte, or plain paper.
○ Paper Weight: Adjust settings for different paper weights. For example, heavier paper or photo paper may require different settings than standard office paper.
3. Adjust Print Resolution
○ Resolution Settings: Set the print resolution to match your print job. Higher resolutions (measured in DPI, or dots per inch) provide better detail for images and photos, while lower resolutions are sufficient for text documents.
○ Check Specifications: Refer to your printer’s specifications to understand its maximum resolution capabilities and choose settings that optimize output without overloading the printer.
4. Configure Color Management
○ Color Profiles: Use appropriate color profiles (ICC profiles) for your printer, paper, and ink. This ensures colors are rendered accurately.
○ Color Settings: Adjust color settings in your printer’s software or application to match your desired output. This may include settings for color saturation, brightness, and contrast.
5. Optimize Print Layout
○ Page Size: Set the correct page size in the print settings to avoid cut-off edges or scaling issues. Ensure that the document size matches the paper size loaded in the printer.
○ Margins: Adjust margins as needed to ensure that content fits well on the page and is printed correctly.
6. Utilize Print Preview
○ Preview Document: Use the print preview feature in your software to review how the document will look when printed. This helps you catch any layout issues before printing.
○ Make Adjustments: If necessary, adjust settings such as page orientation, scaling, and margins based on the preview.
7. Manage Print Jobs
○ Print Queue: Monitor and manage the print queue to ensure that print jobs are processed correctly and avoid delays or errors.
○ Cancel Unwanted Jobs: Cancel any unnecessary or stalled print jobs to prevent them from interfering with new print tasks.
8. Update Printer Firmware and Drivers
○ Firmware Updates: Check for and install firmware updates for your printer. These updates can improve performance and add new features.
○ Driver Updates: Ensure you have the latest printer drivers installed. Updated drivers can enhance compatibility and functionality.
9. Clean Printer Components
○ Print Heads: Regularly clean the print heads to maintain optimal print quality and prevent clogging.
○ Paper Feed Rollers: Keep paper feed rollers clean to avoid paper jams and ensure smooth feeding.
10. Use Printer-Specific Software
○ Manufacturer Software: Utilize any printer-specific software or utilities provided by the manufacturer for advanced settings and optimizations.
○ Maintenance Tools: Use built-in maintenance tools within the software to perform tasks like calibration and head cleaning.
By optimizing these settings, you can enhance the quality and efficiency of your printing tasks, ensuring that your printer delivers the best possible results for various types of documents and media.


